
SUMMARY:
IT professionals can optimize global application performance and defend against vulnerabilities by deploying Azure Front Door paired with a customized Web Application Firewall (WAF).
- Administrators configure Azure Front Door endpoints and routing rules to establish efficient global load balancing between regional web applications.
- Security teams enforce a WAF policy in prevention mode to actively identify and block malicious activity, such as cross-site scripting attacks.
- Developers deploy custom WAF rules to automatically restrict excessive page refreshes and deny access based on specific geographic locations or IP address ranges.
Organizations should implement this globally scalable edge network architecture to ensure their web applications remain highly responsive and protected against unauthorized access.
Table of contents
For my example web applications, I used Microsoft’s documentation below with Visual Studio 2022, but you can use the following tools.

Quickstart: Deploy an ASP.NET web app – Azure App Service | Microsoft Learn
Go ahead and open up your Azure portal, search for Front Door and CDN Profiles, and then click Create Front Door and CDN Profiles.

In my example, I will use Azure Front Door and then Quick create, but if you click Explore other offerings, you will see different ways to deploy Azure Front Door, including Azure Front Door (classic). Once you are ready, click Continue to create a Front Door.
Setting Up and Configuring Azure Front Door


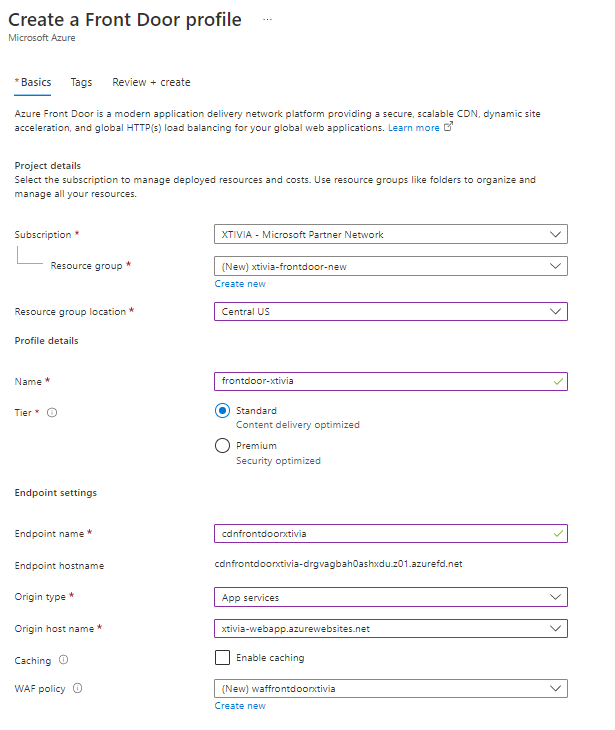
Go ahead and fill out the required fields below. In my example, I am using the Premium tier as we focus on security in this demo. Also, you can create an Azure Front Door. I then created a new WAF policy below. Once you are finished filling out this information, go ahead and click Review + Create.
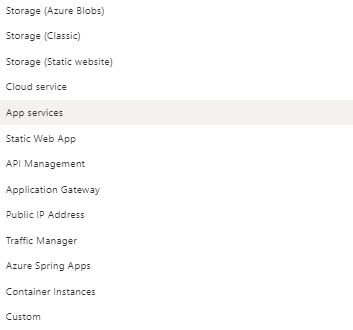
In my example, I have already created a couple of web applications for the Origin type, so I will use App Services in this demo. You can create an Azure Front Door for the following origin types.
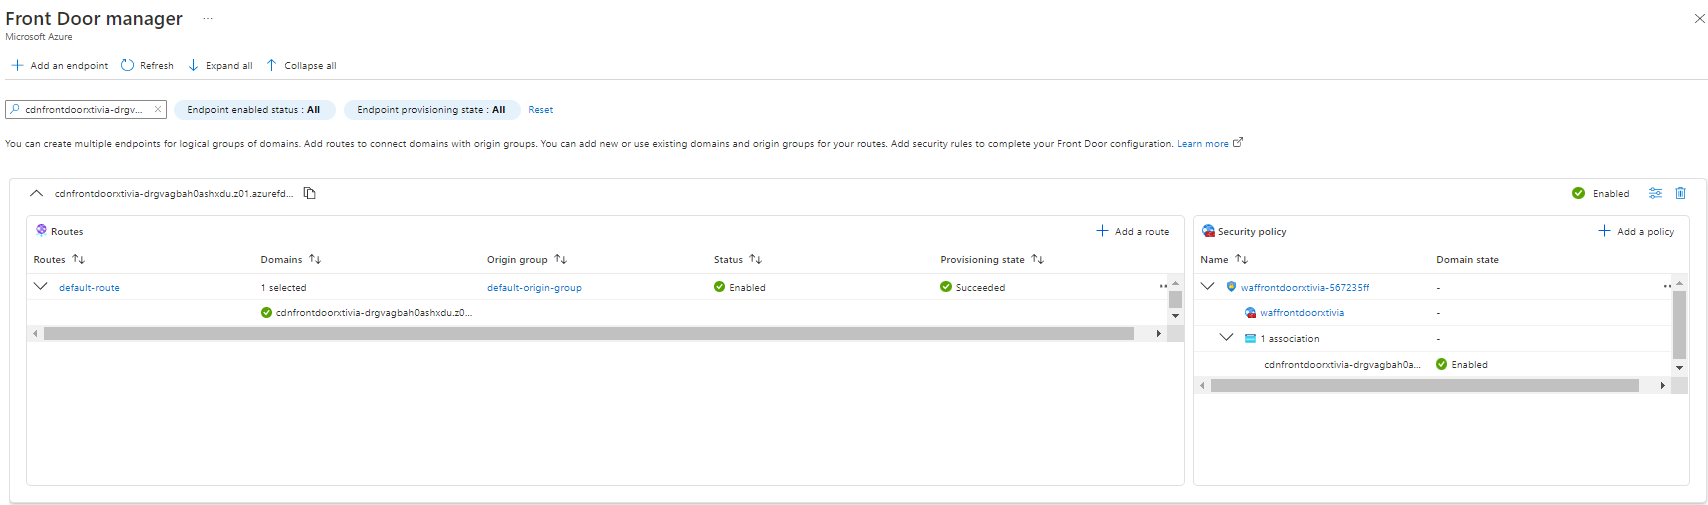
Once your deployment is complete, click Go to Resource, then confirm whether your endpoint is running by copying the hostname and pasting it into a new tab.


I then clicked the endpoint name and reached the Front Door manager, where I could edit routes, security rules, and other settings.
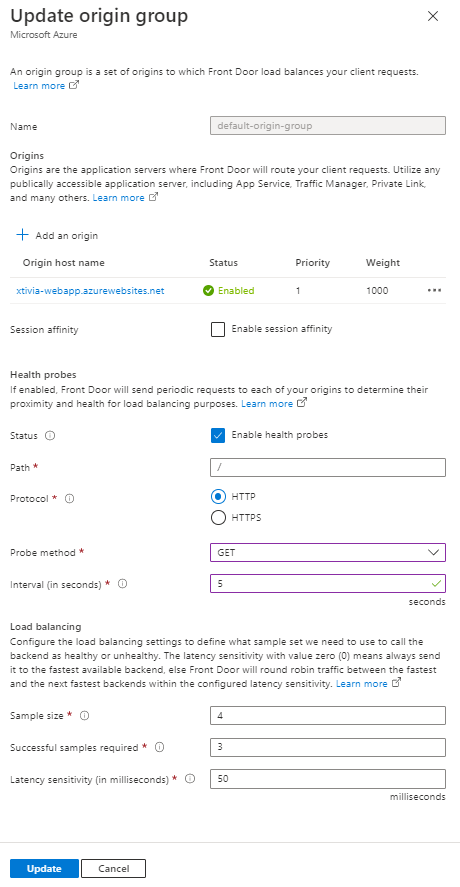
When I drill into the default origin group, you can see that the web application I assigned shows you how to edit the Health probes. Typically, when configuring the Health probes settings for the Probe method, I use GET and set the interval to 5 seconds.
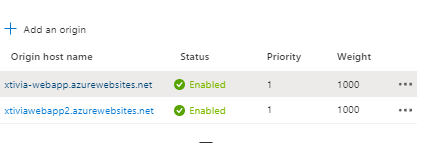
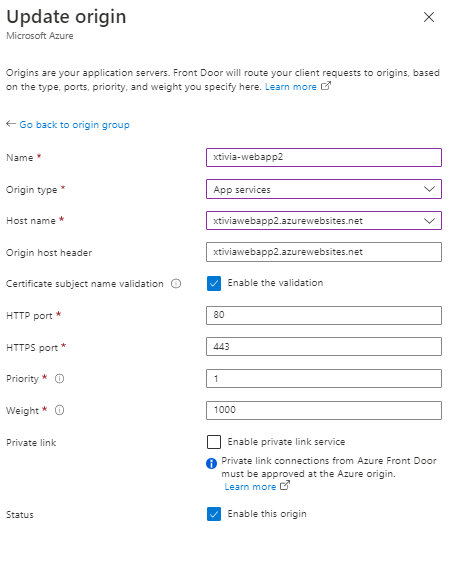
To add load balancing for your web application, you must add the second origin to the newly created Azure Front Door. In my example, my web application resided in Central US and UK South.
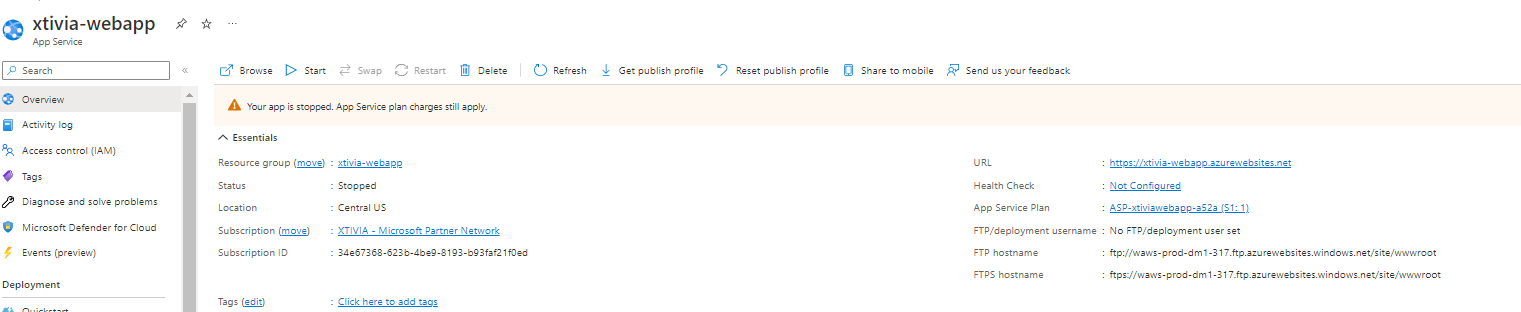
If I go to my first Web Application, stop it, and then go back to my Azure Front Door
Running: The first web application shows the location of the US Central.

Stopped:

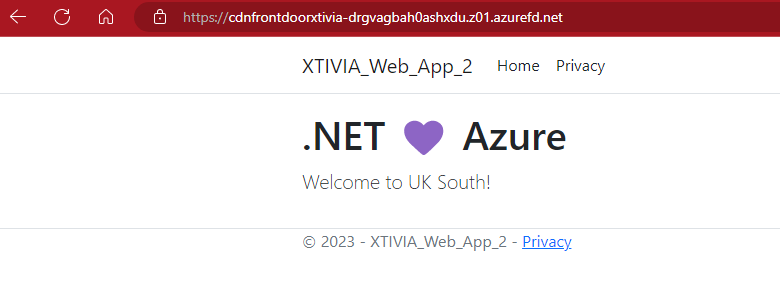
I then went ahead and copy and pasted my front door endpoint link below and got the secondary web application in UK South.
I will now show you some of the routing options you can use with Azure Front Door. However, before doing anything, I will create a new Origin group. I will do this for the US Central web application.
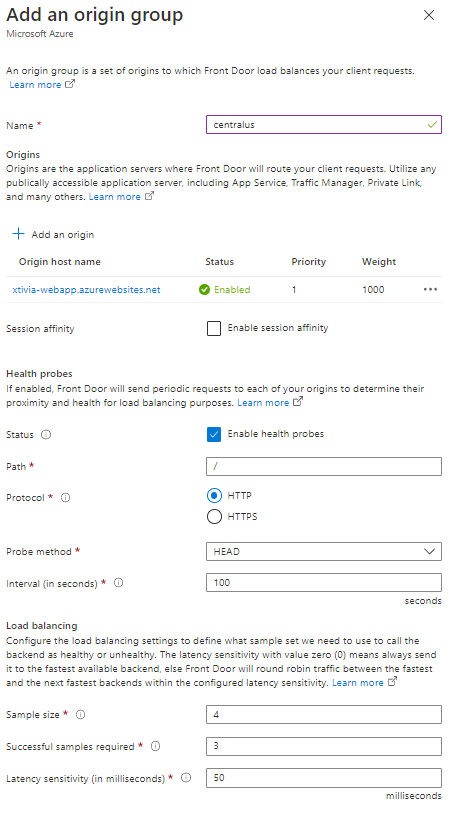
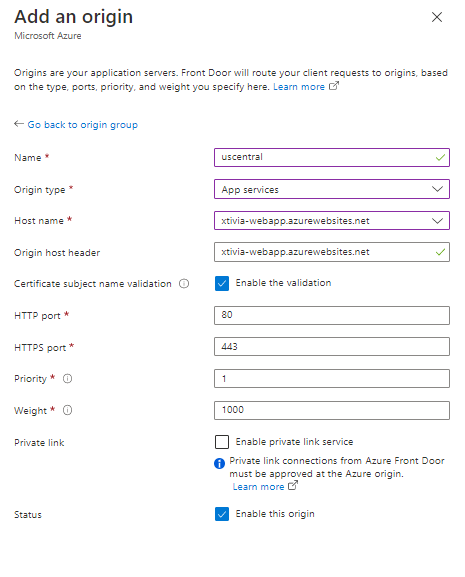
Once you click Update and it finishes loading, you will see “Unassociated” for routes on your new origin group.

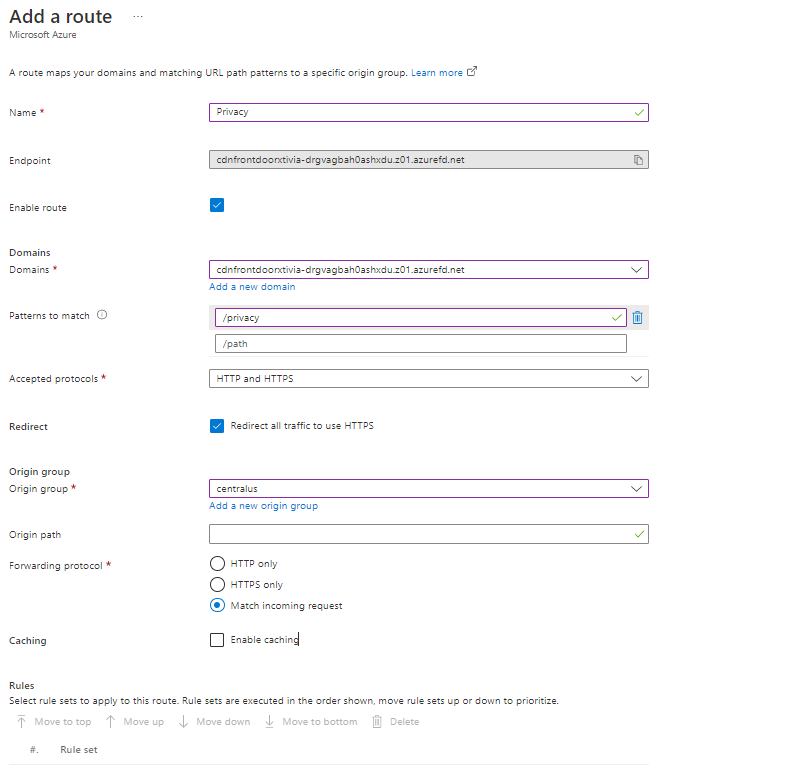
I will then return to the Front Door manager and add the new route.

In my example, for the patterns to match, I put Privacy as a page in my Central US web application. This newly created route I did will make sure that we are always redirected to the Central US web application.
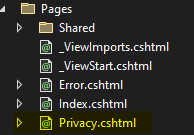

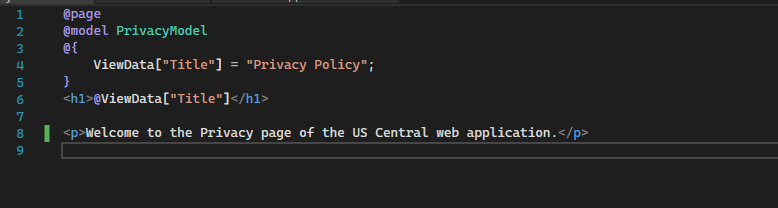
I return to Visual Studio and ensure my US Central web application privacy page shows the correct information.
I then need to restart my US Central web application.

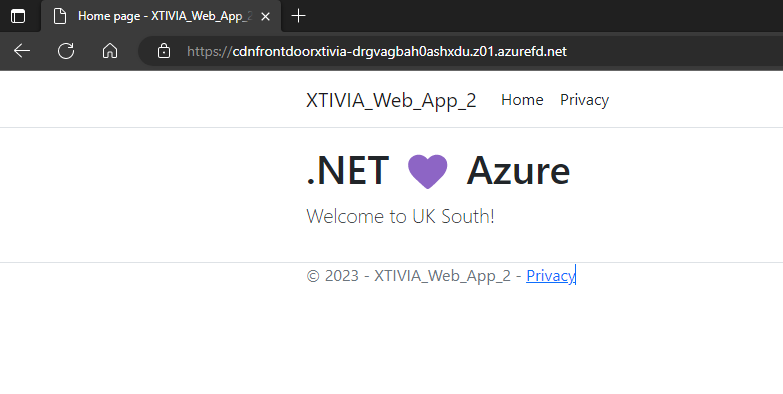
I then go back to my web browser and copy and paste the endpoint hostname. You can see my UK South web application is shown.
Once I click on Privacy, I am redirected to the Privacy page of the US Central web application.
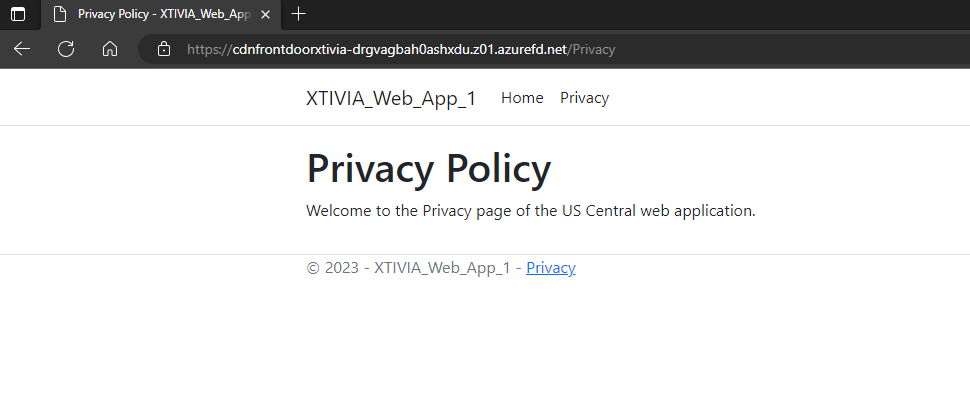
Any time someone clicks the Privacy page, they will be redirected to the US Central web application, and this is how you can set up routing in Azure Front Door. In my next section, I will go over the Web Application Firewall in Security Policies to help secure your web applications.
Setting Up the Web Application Firewall
Go ahead and click Security Policies in the left-hand menu, then see my Web application firewall policy called waffrontdoorxtivia. This was initially created when we were configuring the Azure Front Door.
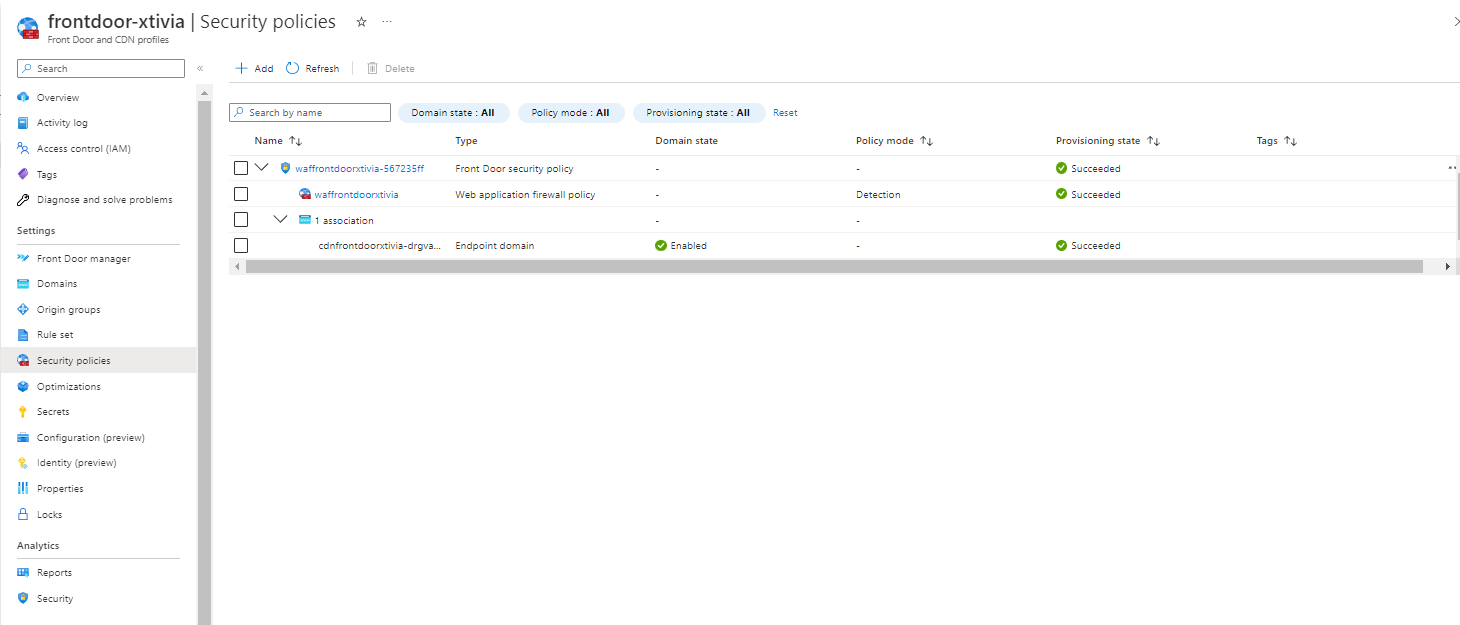
Right now, my Front Door WAF policy is in detection mode, and we want to switch it to prevention mode by clicking the switch-to-prevention button.

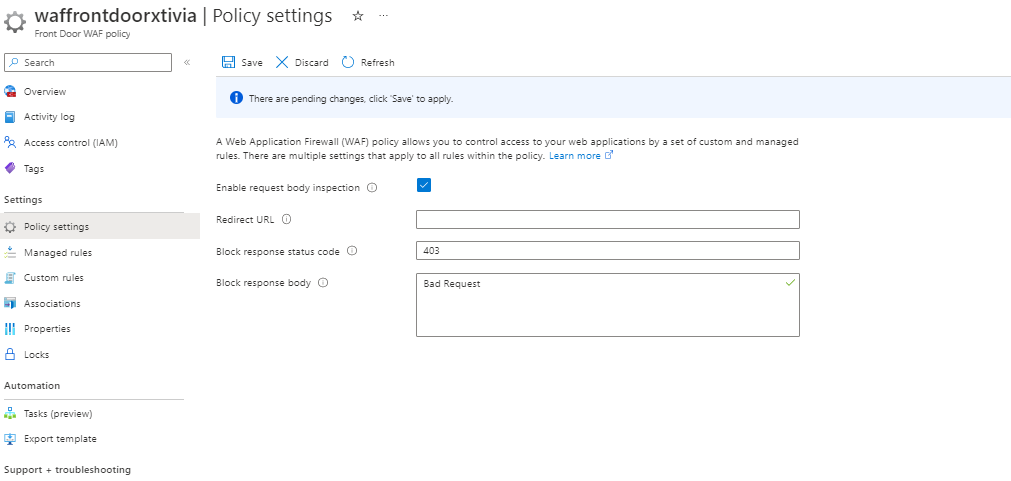
Now that we have our WAF policy in prevention mode, I will go into the Policy settings and create a policy that, if a 403 response code pops up, it would appear to the user as a bad request.
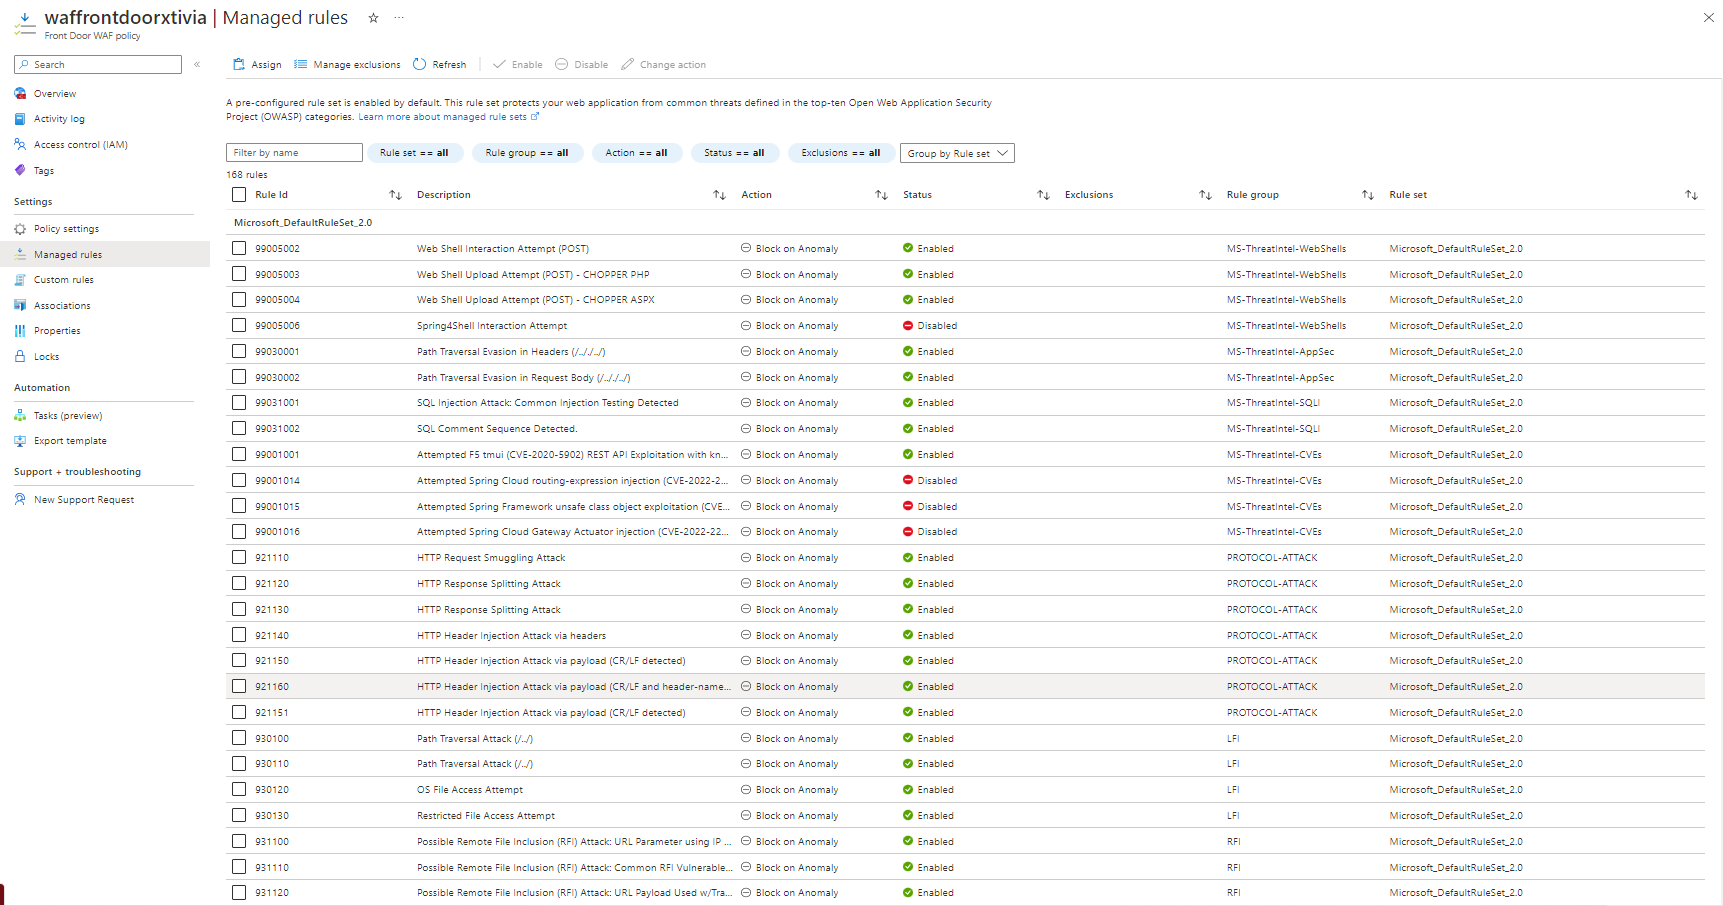
The screenshot below shows the default managed rules Microsoft has configured. There are many settings you can change, and you can also create custom rules.
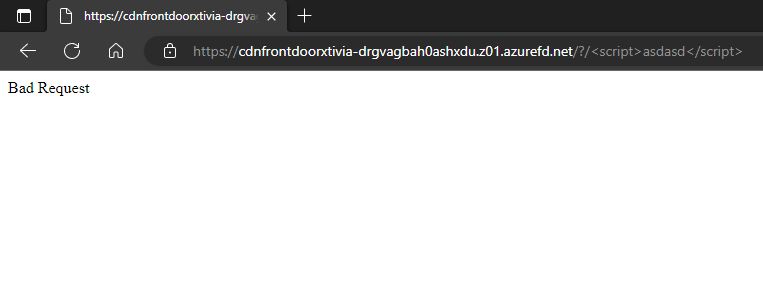
Since we have already added the web application firewall to our Azure Front Door, I will show you an example of the WAF in action. If I go back to my Front Door endpoint and add /?/<script>asdasd</script> at the end of the link, I get the following results. This can help you stop cross-scripting attacks.
Another example is/?/../../ I get the following results, which show that the WAF we have put in place is working as it should.
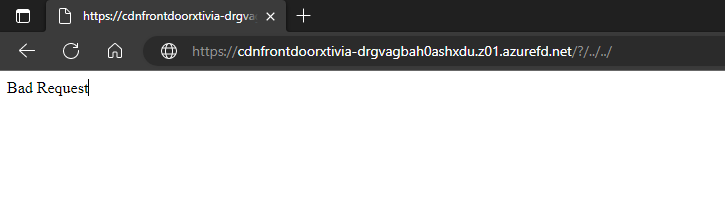
In the next example, I will show you how to add Custom Rules to your Front Door WAF policy.
Creating Custom Rules For Your Web Application Firewall
Go back to your Front Door WAF policy and click on Custom rules. Once you are in there, click on Add custom rule.
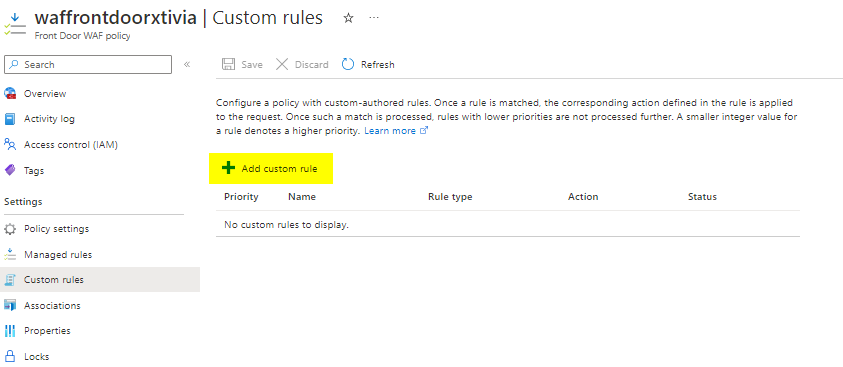
In this example, I will create a custom rule that restricts users’ ability to refresh the page more than 2 times within 1 minute.
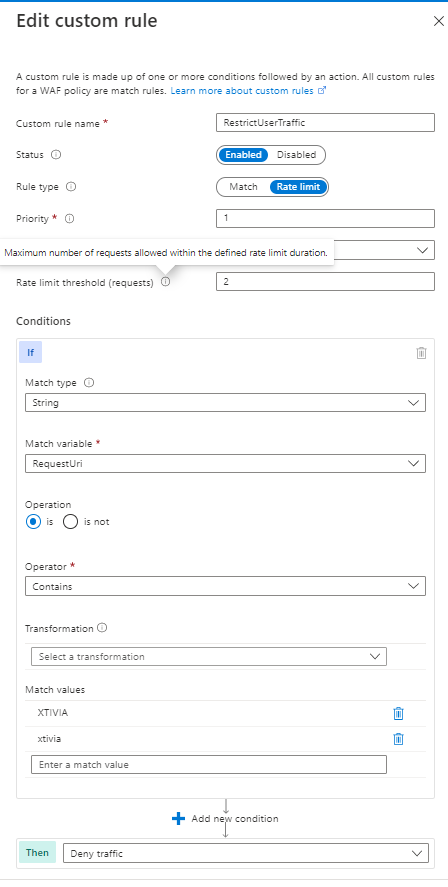
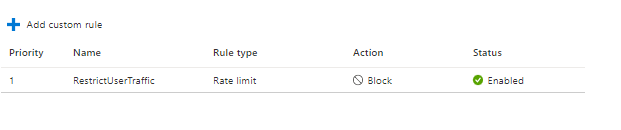
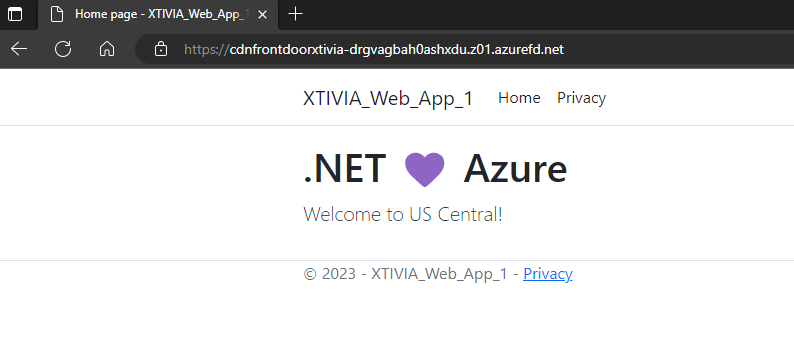
When I go back to my Front Door endpoint, it loads correctly.
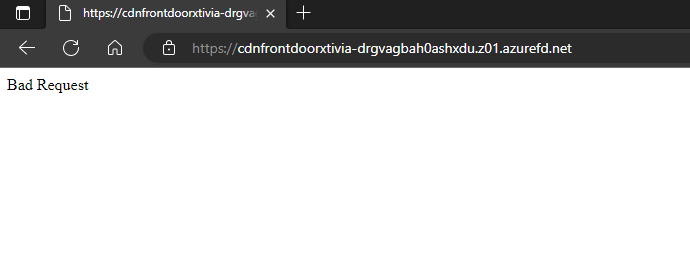
If I refresh a few times, I get a bad request message.
In this second example, I can even restrict traffic based on geo-location.
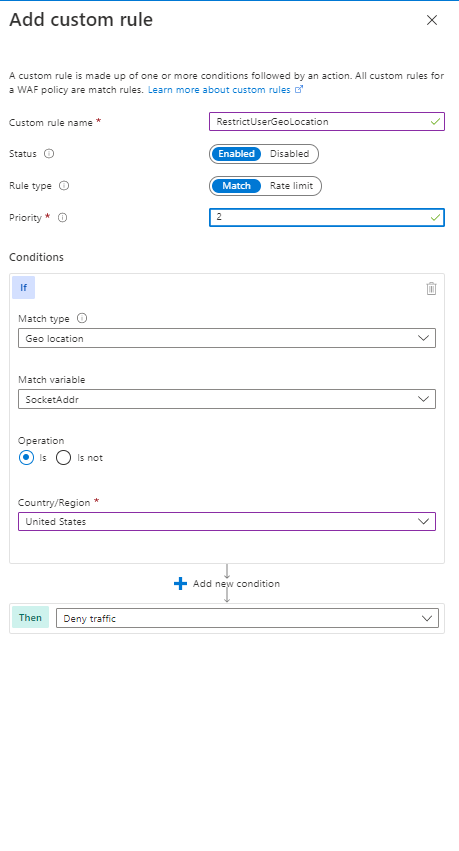
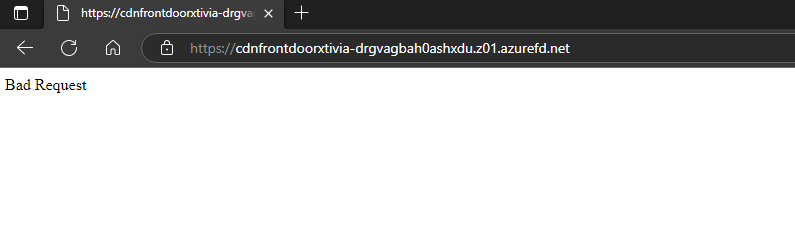
I am in the United States, and if I go back to my endpoint, I get an instant error message for my US Central web application.
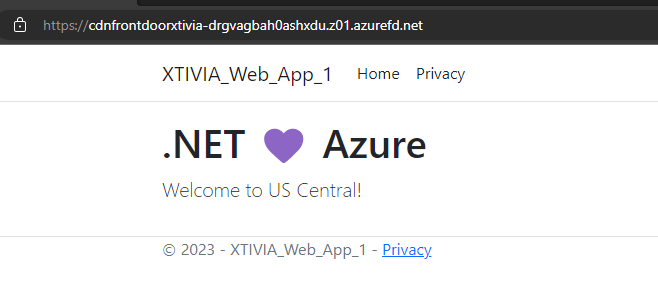
If I disable the Geo-location rule I created, I can load my Front Door endpoint just fine.

I am now able to load my Front Door endpoint just fine.
You can even create a custom rule for the specific IP address range if you need.

We have created a basic Azure Front Door with a Web Application Firewall using custom rules. By using Azure Front Door, you are taking advantage of using Microsoft’s dedicated private global network from the Edge point of presence (PoP) to the application. With the added security of the Web Application Firewall, you will be able to ensure your applications are secure and globally scalable.
If you have any questions about our Azure Cloud Services, please get in touch with us at XTIVIA!